Surgical Technique
SURGICAL TECHNIQUE: this technique can be applied by Arthroscopy or open
|
|
|
Pin Placement |
|
|
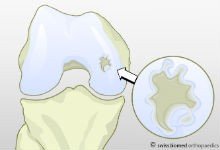
Evaluation of the cartilage defect:
|
|
|
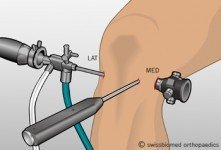
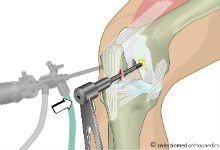
3 Portals (e.g. Defect is in the medial condyle):
|
|
|
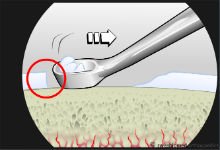
Defect Preparation
|
|
|
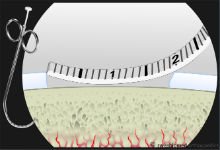
Measurement of the defect size |
|
|
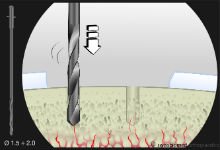
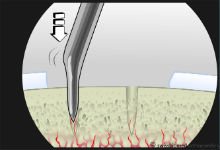
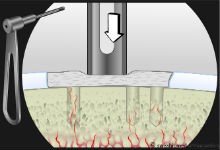
Microcfacture
3-4mm apart from each other, with a depth of approx. 4-5mm |
|
|
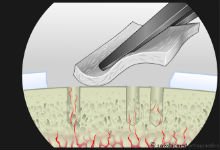
Matrix is cut to match the defect size and inserted through the medial portal |
 |
|
Matrix is hold in place by the Guide (Anteromedial portal) at the location where the pin shall be placed |
|
|
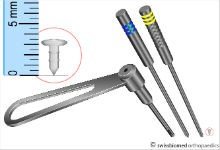
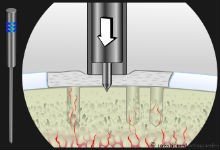
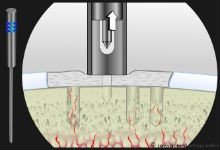
With the Punch-Instrument (Blue Marking) inside the Guide, a hole is hammered through the Matrix. It is important to hammer to the complete stop. The puncher has a stopper at the handle which prevent going too deep |
 |
|
Holding the Guide in place, the Punch-Instrument is removed from the Guide. It is extremely important keeping the guide in place without shifting it. Even small shift of the Guide will make the following Pin insertion into the prepared hole impossible. |
 |
|
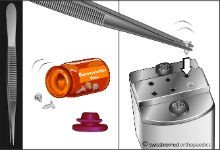
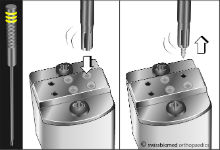
The pin is seized with the Pin-Applicator (Yellow Marking) by slightly pressing it over the pin-head. The surgeon’s assistant may perform this step and pass the Applicator with the pin to the surgeon |
 |
|
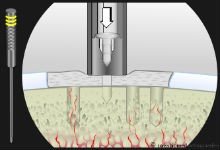
The Pin is introduced through the Guide to the Matrix at the location where the hole was prepared |
 |
|
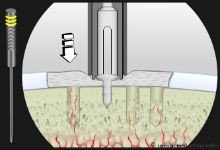
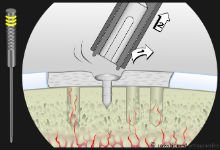
Hammering the pin through the matrix into the prepared hole:
Only a complete insertion allows the release of the pin and the Applicator removal |
 |
|
By simultaneous pushing and slight tilting of the Applicator the pin gets released |
 |
Click here to download a copy of the Surgical Technique

